PMP Network Design Process
This section provides a quick process to design a PMP network for experienced Windows or Mac users. It describes how to build a PMP network with multiple hubs, Access Points and Subscriber sites in a few simple steps.
Before starting this process, complete the following steps:
- Install the software in the usual way. See Installing LINKPlanner.
- Start the application.
- Enter the correct details in the Options (Preferences) page. Ensure that Email address and Network Settings are correct. See Options (Preferences).
- Register with the path profile service. See Options (Preferences).
Build the network in five simple steps:
Add network sites from csv or kml. See Copying or Importing Sites.
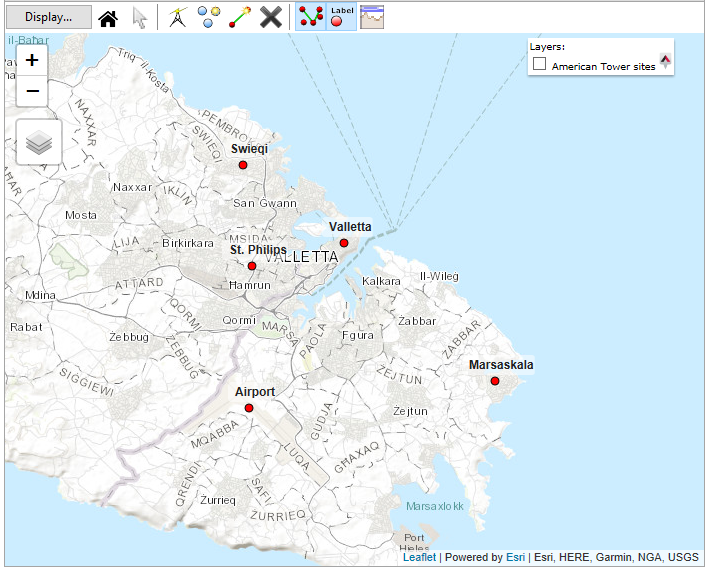
PMP Network Sites Added
Add subscriber sites from csv or kml. See Copying or Importing Sites.
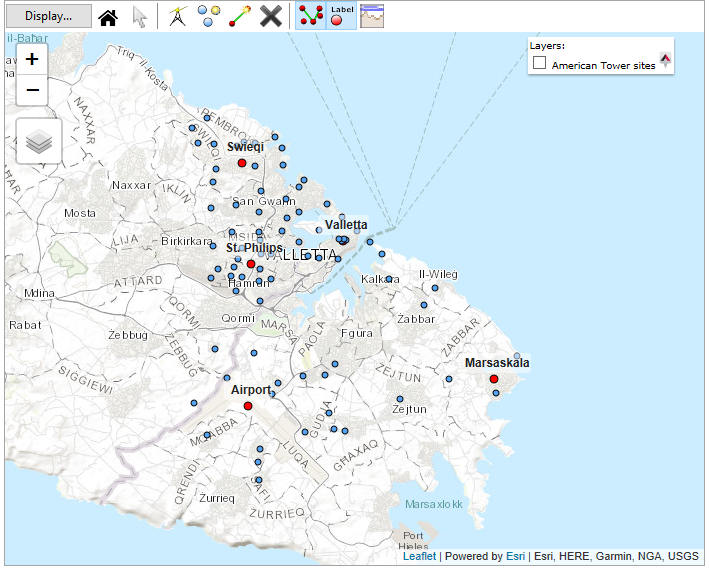
PMP Network with Subscriber Sites Added
Create PMP Equipment Template. See Equipment Templates.
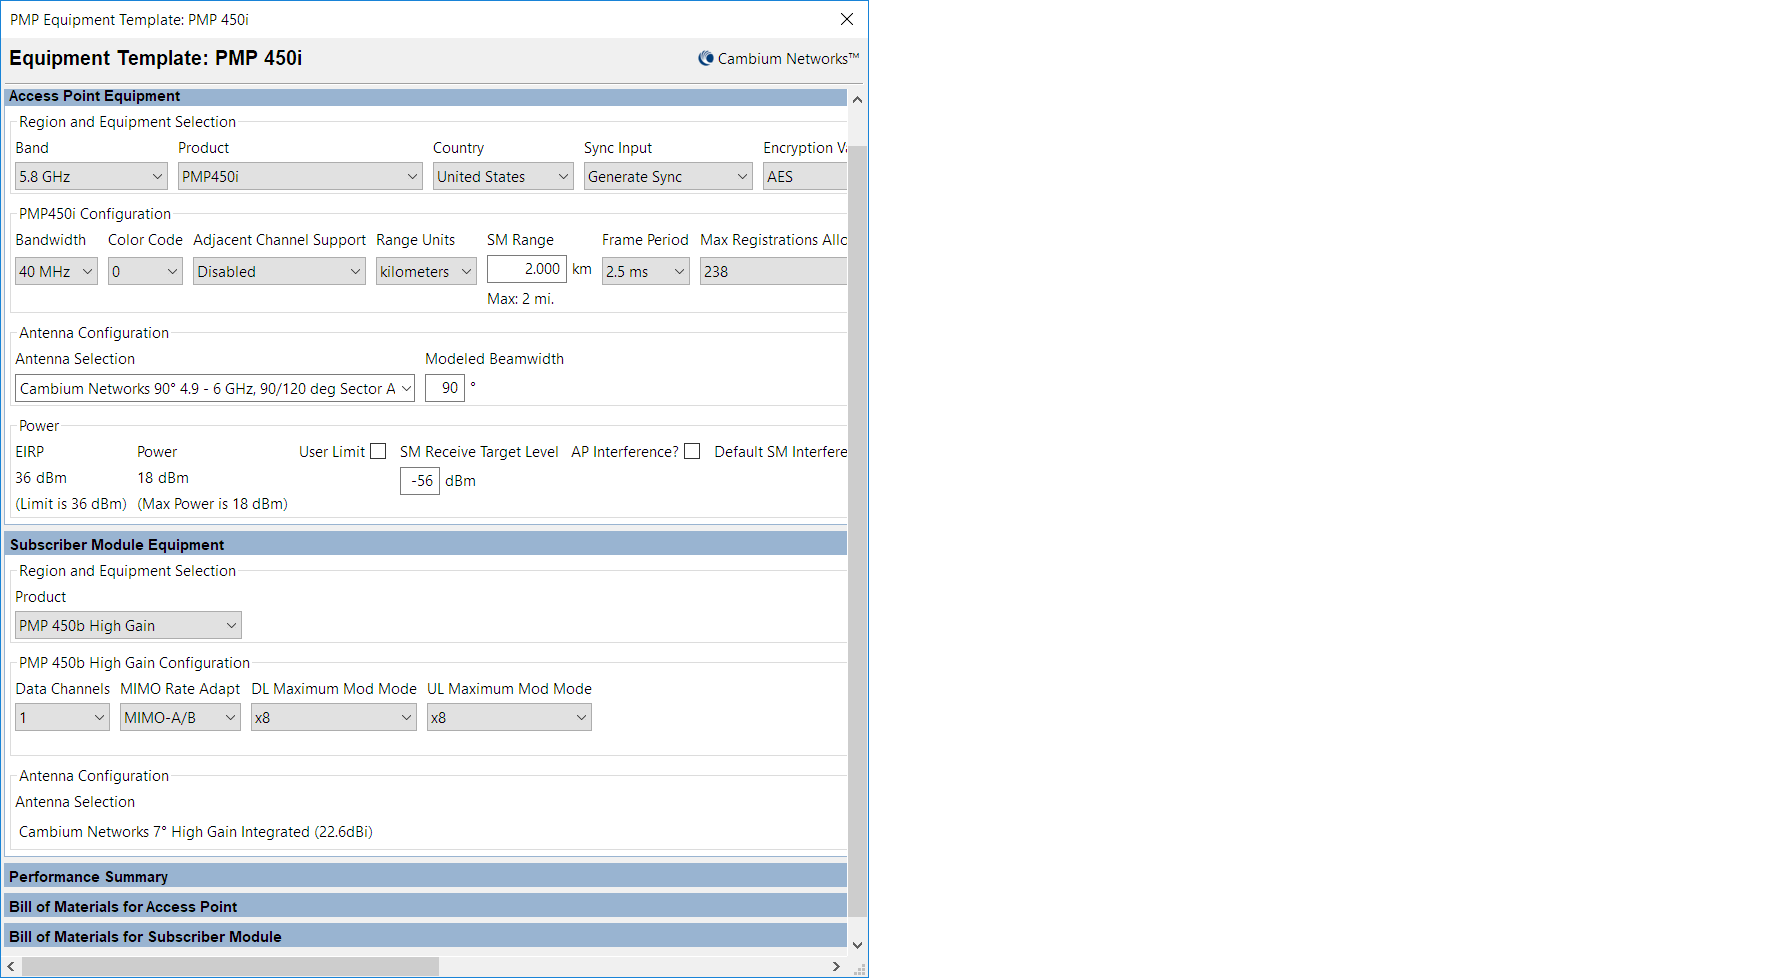
PMP Network Equipment Template
Add hub sites and access points. See Hubs.

PMP Network with Hubs and Access Points
Connect subscribers using Best Server Analysis. See Best Server Analysis.
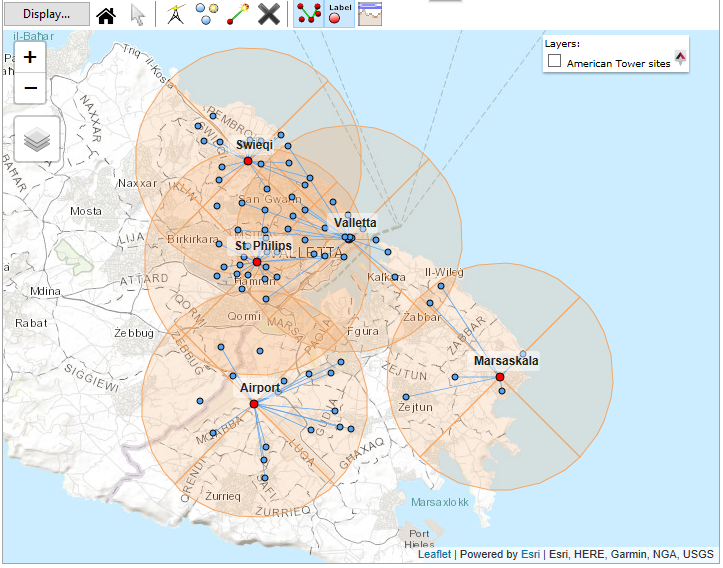
PMP Network Connected